
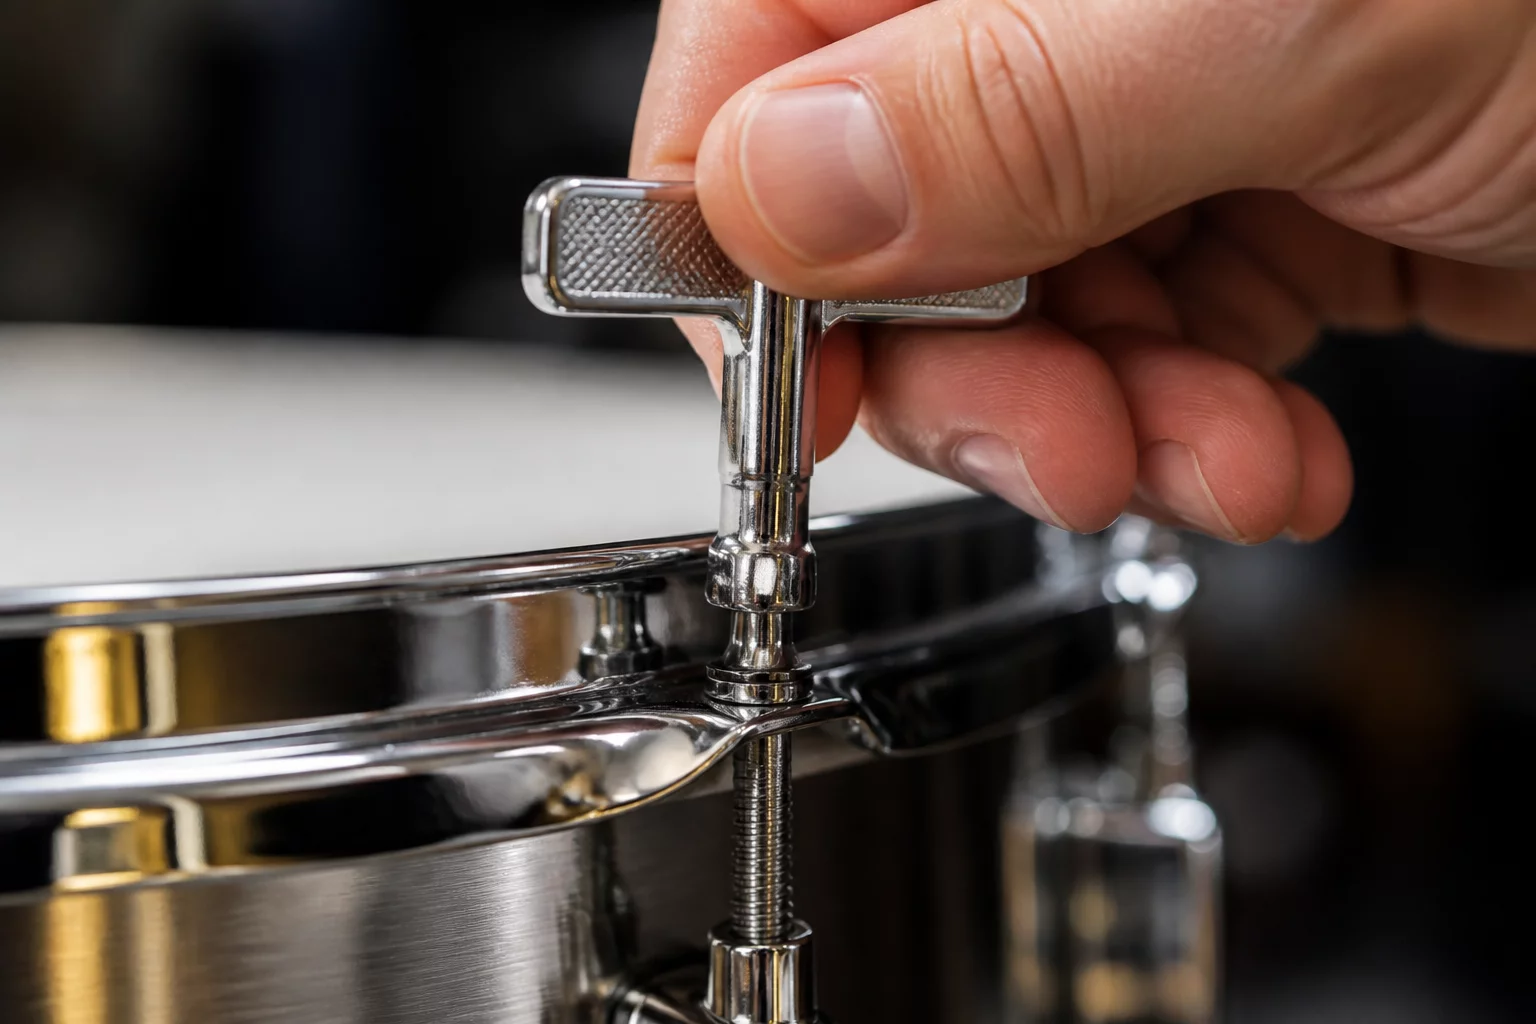
Three-Stage Drumhead Tuning Methodology
A common mistake drummers make is turning tension rods randomly around the rim. This introduces unequal tension, warping the hoop and creating phase cancellation within the drum shell. Systematic tightening guarantees every tension point supports the overall resonance.
Begin each drum by clearing the counterhoop, inspecting the bearing edges for dust or burrs, and centering the fresh drumhead with care. Follow our three distinct phases below to achieve professional results every single session.
Place the drumhead onto the shell and drop the counterhoop in place. Thread each tension rod into its lug by hand until it makes gentle contact with the hoop washer. Press down firmly with the palms of both hands on the center of the drumhead to stretch the outer collar evenly across the bearing edge.
Recommended Target Frequencies & Note Intervals
Proper pitch relationships between drums create melodic separation across the kit. When rack toms, floor toms, and the snare drum are tuned to distinct musical intervals, every strike cuts through a dense band mix without low-end clutter.
| Drum Type & Size | Batter Head Target Note | Resonant Head Target Note |
|---|---|---|
| 14x5.5 / 14x6.5 Snare Drum | A3 (220 Hz) / G3 (196 Hz) | D4 (293 Hz) / Table-top tension |
| 10x8 & 12x9 Rack Toms | D3 (146 Hz) & A2 (110 Hz) | Minor 3rd higher than batter |
| 16x16 Floor Tom | E2 (82 Hz) / F2 (87 Hz) | Equal pitch for max boom |
Core Rules for Studio & Stage Drum Tuning
Adhering to foundational maintenance principles preserves your hardware and keeps your drums performing reliably under varying stage conditions.
- Always clear lugs at low volume; tapping softly reveals pitch nuances that heavy stick hits obscure.
- Keep snare resonant heads consistently tight to prevent wire buzz and maintain rapid stick response.
- Lubricate tension rods with white lithium grease once a year to ensure smooth, effortless key turns.

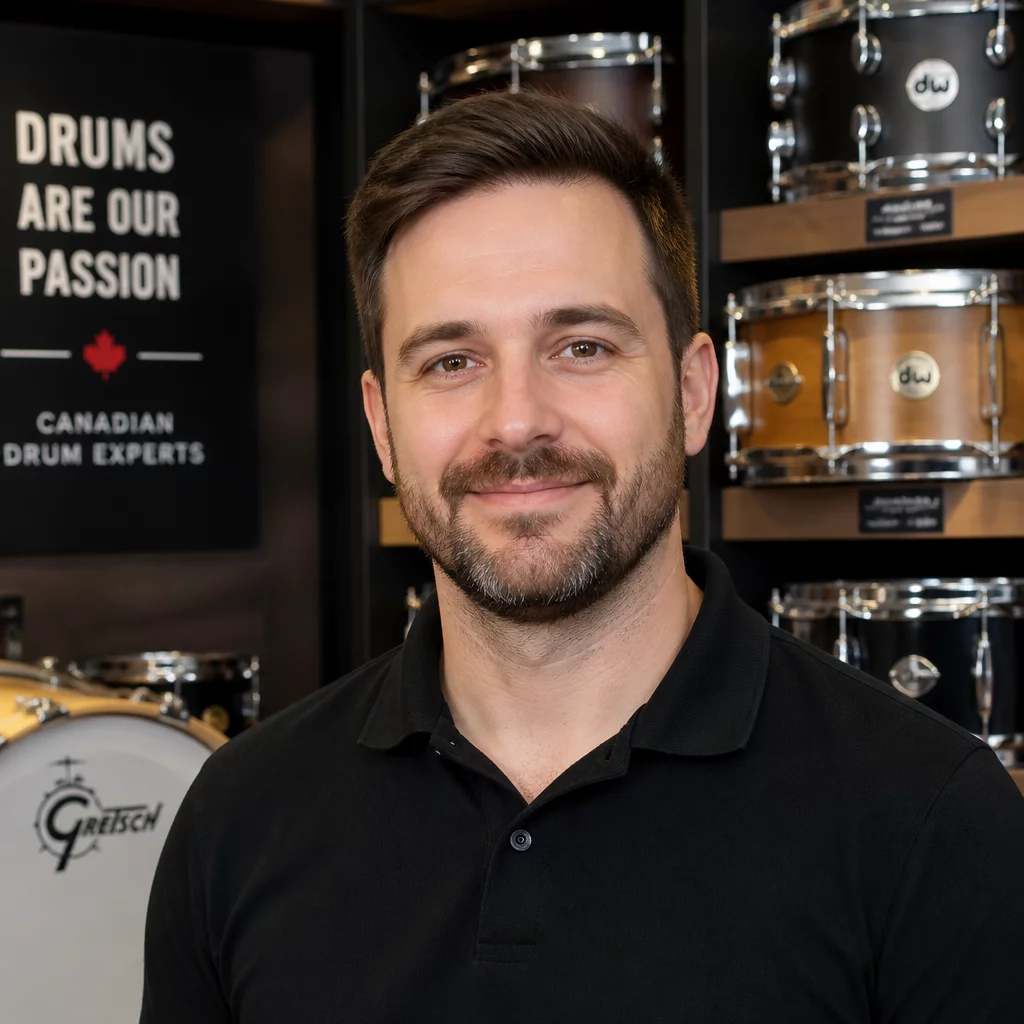
Travis Barker
Senior Drum SpecialistTravis is a passionate touring drummer and audio educator with over 20 years of experience fine-tuning acoustic setups in premier recording studios.
Frequently Asked Questions
Need Drumhead Advice or Tuning Tools?
Our drum technicians are available to help you select ideal head combinations and tuning accessories.

The tip about center damping with a single finger while clearing individual lugs completely transformed my snare sound. No more weird ringy overtones when tracking in my home studio!